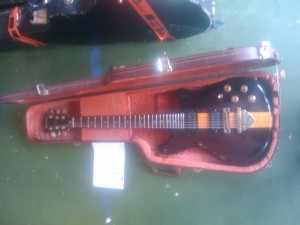
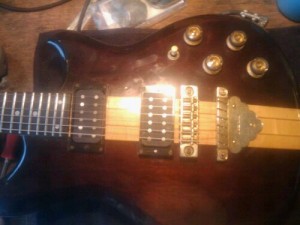
This is a job I’m glad to have finished– my customer dropped the guitar off six months ago! It’s a cool old Ibanez Musician, but had a number of issues. Lots of uneven frets, a collapsing bridge, and a set of pickups that just wasn’t doing it for the owner.
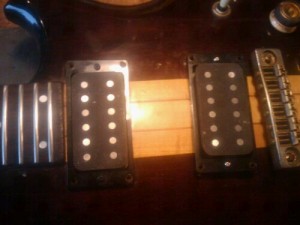
The owner wanted to try something unconventional and was craving something that would give him decent humbucker sounds but also something brighter and more Fender-esque, and inquired about the Nordstrand NDC pickups. I’d never heard them, but after a phone conversation with Nordstrand we decided it would be cool to try them, and ordered a set. A series of personnel changes at the company led to several delays, but I used the time to get other parts on order and draw up a circuit that would allow the pickup coils to be wired in both series and parallel, with individual coil taps as well.
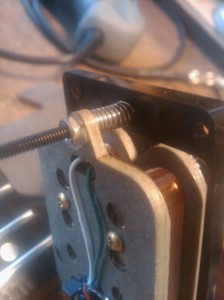
Unfortunately, there were some issues with the way the mounting holes were drilled and tapped in the baseplate for the pickups in both the original set and the replacement set of pickups from the company. With a new production staff, it seems they’re still working out the kinks, and this is one of their most unusual (and least replicated) pickups. Customer service was really great, but unfortunately didn’t fix the issue, so I ended up mounting the pickups into their rings using tiny retaining nuts. I also had to clip the included springs to allow enough compression to raise the pickups to the necessary height, and because I had to remove the pickups to adjust them, the setup was a little more time-consuming than usual. If the customer’s happy with the sounds we get, I’ll either CA glue the nuts to the baseplates, or find some lock nuts in the correct thread.
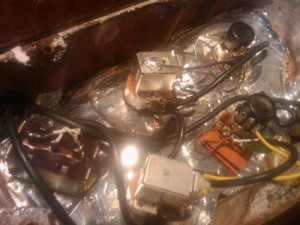
Since my mind was on wiring, and i wanted to hear the pickups before doing anything else, I went ahead and wired up the circuit. The volume pots are push-pull pots that toggle between the humbuckers wired in series (standard humbucker wiring,) and putting the coils in parallel, for a brighter sound closer to a tele in the middle position (there are major differences because the coils are beside each other instead of at different harmonic nodes, but you can hear the similarities.) From the volume pots, jumper wires connect to the push-push tone pots, which short one coil of each pickup to ground. The resulting combinations possible make for some interesting sounds, especially with both pickups on.
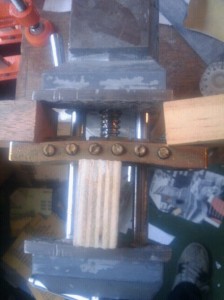
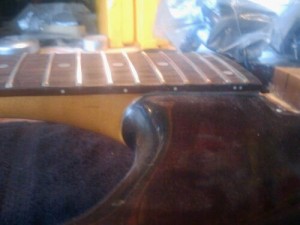
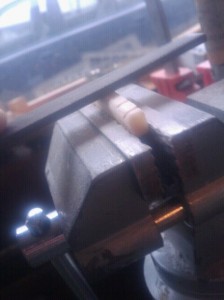
Once I was sure my wiring was working correctly, I moved on to the frets and hardware. The strings were buzzing pretty badly around the fretboard, in part because of various uneven frets, and in part because over time, string tension had flattened out the brass bridge, causing the middle strings to be more prone to rattle on the frets. The fretboard was a 10″ radius. The bridge had collapsed to something closer to a 20″ radius. I like the hardware on the Ibanez guitars from the late 70s and early 80s, but this is the second one I’ve seen recently with this problem. It makes a good case for using an alloy tougher than brass, or a bridge design that resists all those pounds of string pressure for longer. I knew I was going to spend some time on the frets, so I clamped the bridge up in a vise, using blocks to leverage the bridge back to its original curve. I didn’t want to crack the fatigued metal, so I didn’t over do it– a little at a time, letting the bridge sit in the clamp as long as possible and tightening it slightly as time went on, until I was satisfied that we were holding at the original 10″.
Meanwhile I got busy with the frets. I’ve tried a lot of different fret dressing procedures and am always looking for a method that gets better results, or is faster, or preferably both. Here’s how I went about this dress:
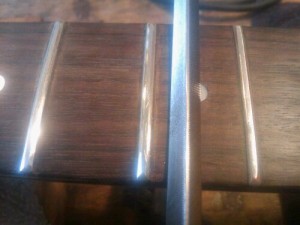
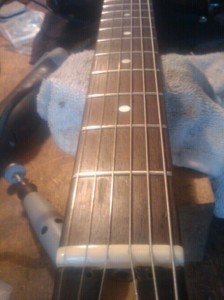
First I adjusted the neck straight, and leveled the frets as I usually do with a long leveling bar. I’ve started paying extra attention as I go to maintaining the radius of the frets. It seems easier to take away material in the right places if I chase the leveling bar with radiused sanding cauls periodically. This makes up for inconsistencies in the angle at which I’m using the bar, without losing the advantage of the length of the bar for creating a level plane down the frets. Once everything is in a nice straight line all across the board, I spend a little extra time adding some fallaway on the high frets– a few thousandths ensures that the strings won’t fret out on bends up high.
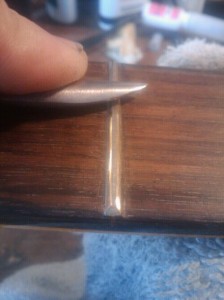
Next the frets are crowned with a 3 corner file, which gives a lot of control over the final shape of the fret. For this Ibanez, I left the flat on top of the fret a little wider than I otherwise might, going for more of a classic Gibson fret profile.
I followed up the filing with a burnishing tool instead of sandpaper. Used for jewelry work, the burnisher is great on standard fretwire, which is a copper/nickel alloy of softer metals. The burnisher compresses and smooths the metal, shining it the same way sandpaper would, but with the advantage of hardening the fret and hopefully making it slightly more durable. Instead of running through a lot of grits of sandpaper to get rid of file marks, I can use the burnisher once, and fine tune the fret shape at the same time as smoothing and polishing.
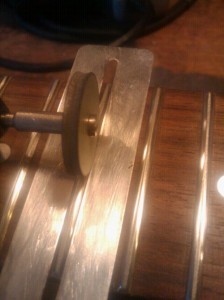
For the final polish I’ve recently started using the ceramic polishing discs sold by Stewart Macdonald. I was skeptical at first but have become pretty impressed. It’s hard to bring the frets to a higher shine than the fine wheel leaves, and cuts at least 20 minutes of hand work out of a fret dress.
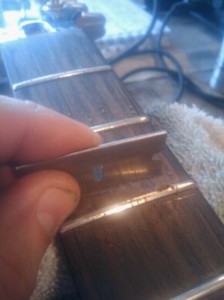
When I was happy with the frets I used a razor blade scraper to expose fresh wood and clean up the marks burnished into the rosewood by the safe edge of my fret file.
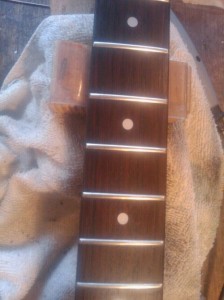
Then I reconditioned the wood with lemon oil for a nice protective shine.
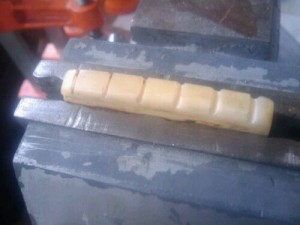
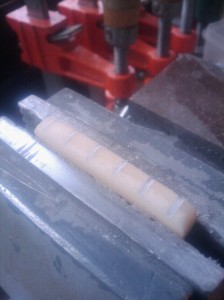
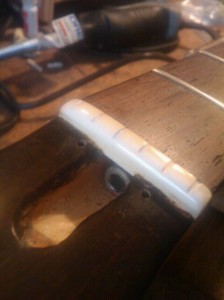
Moving up to the nut– someone had made a bone nut for the guitar, a step in the right direction, but it was pretty rough. The contours were square, the slots too deep, and it wasn’t too pretty. The deep slots can cause the strings to bind and go out of tune, and the rough, square shape of the nut can create drag on the string between the front edge and the tuners, which can create intonation problems.
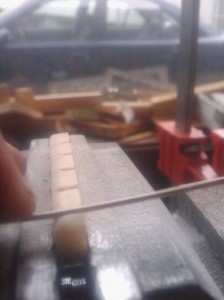
I lowered the slots with a file, shaping as I went…
and used a piece of clipped string as a feeler gauge to set the slot depth.
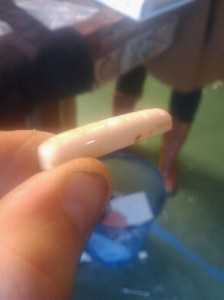
When I’d exposed as much string as I wanted, I finalized the nut profile, and brought the bone up to a high gloss.
Looks and plays a lot better now!
All that was left was the setup, so I unclamped the bridge and cleaned out as much dirt and crud around the saddle screws as possible, and lubricated the threads with some 3-in-1 oil. Strung up, after the work to the frets and nut, I was able to set the neck dead straight with a nice low action that played perfectly in tune.
This guitar is rejuvenated and ready to rock! It’s nice to have the opportunity to go through a cool instrument like this and really do everything necessary to get it playing great. Hopefully the owner will dig it and it will be making music for many years to come.

